As we start to wind down closer to Christmas, you may be looking for gifts for parents that your students can make.
Kids love making gifts to give to their loved ones. Providing them with time, materials, and the opportunity to make Christmas gifts is a really nice way to share some Christmas spirit!
I’ve got three easy, low-prep gifts here for you. Pick one, two, or all three to make with your students this year. They’re fun and your kids will love making them!
Ornament Gifts for Parents
The first two ideas are Christmas ornaments. These make a great gift! They will last for years and parents will love hanging them on their tree every year and reminiscing!
1. Cinnamon Ornaments
These amazing-smelling ornaments are easy to make with just 2 ingredients. They’ll last for several years and smell good every time you hang them on the tree. Your classroom will smell very Christmassy while you’re making them, too!

You’ll need:
- smaller-sized cookie cutters
- a straw to make a hole in the ornament
- ribbon for hanging
- plastic wrap
- a rolling pin
- 1 cup applesauce
- 1 1/2 cups of cinnamon powder
WHAT TO DO:
- Start by adding a cup of cinnamon to the applesauce in a small bowl. Mix that up and then add the last 1/2 cup of cinnamon. You’ll need to use your hands to really get the powder incorporated into the applesauce well.
- Take some of the dough and roll it out flat between two pieces of plastic wrap. Remove the top piece of wrap and then use cookie cutters to cut out the ornaments.
- Poke a hole in the ornament for the ribbon to hang the ornament with.
- You’ll need a place to let them dry well for a day or two. When they’re dry, place a pretty ribbon through the ornament and tie it for hanging.
- At this point, students can decorate them with a little paint, or you can leave them as they are. Add a nice gift tag and they’re done!
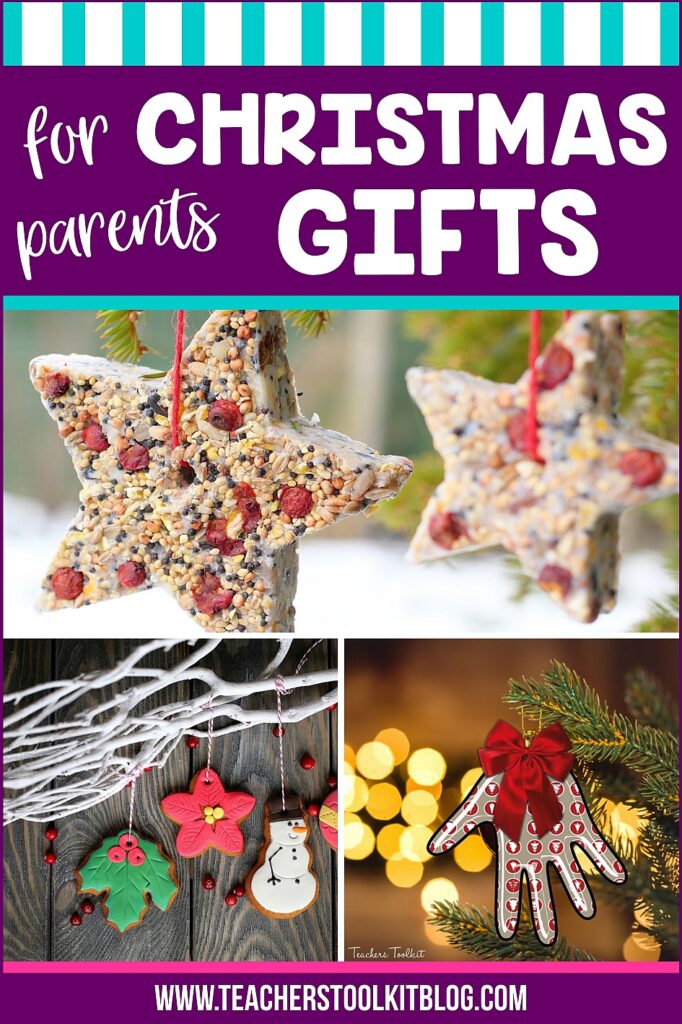
2. Keepsake Handprint Ornaments
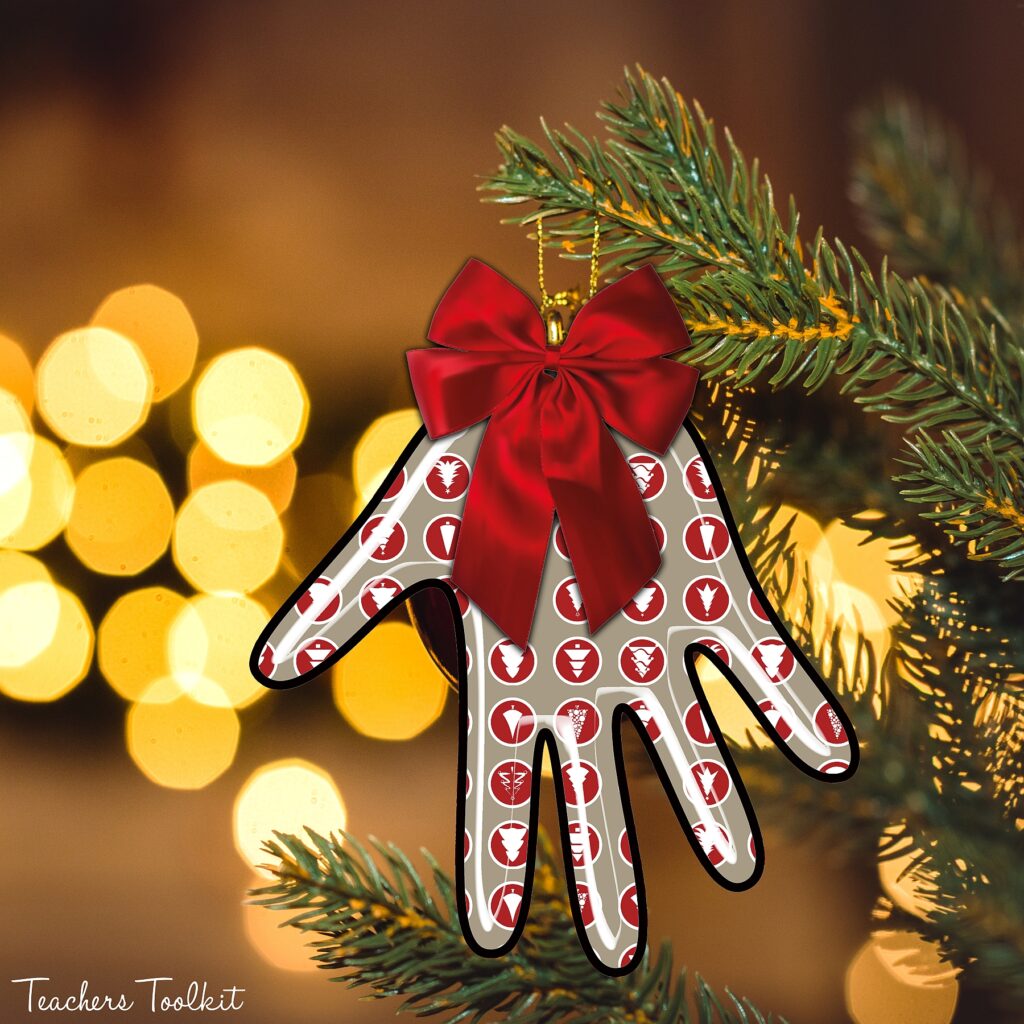
These adorable ornaments will be cherished by parents for years to come!
- Christmas scrapbook paper in multiple patterns
- red string, twine or ribbon
- scissors
- laminating paper
- hole punch
- red glitter gel pen
WHAT TO DO:
- Have each child trace their hand on the white side of a sheet of scrapbook paper that they like.
- Cut out the handprints roughly. Have students write their names and the year on the back with the red gel pen. Then place them in the laminating paper, following the directions for use.
- Now cut out the laminated handprints closely, but do leave a little bit of room around the edges so that they won’t eventually separate.
- Use the hole punch to place a hole in each laminated ornament and tie the red string or ribbon through the hole to hang the ornament with.
- That’s it! Very easy, but I’m sure these will be memorable as gifts for parents!
Homemade bird feeders
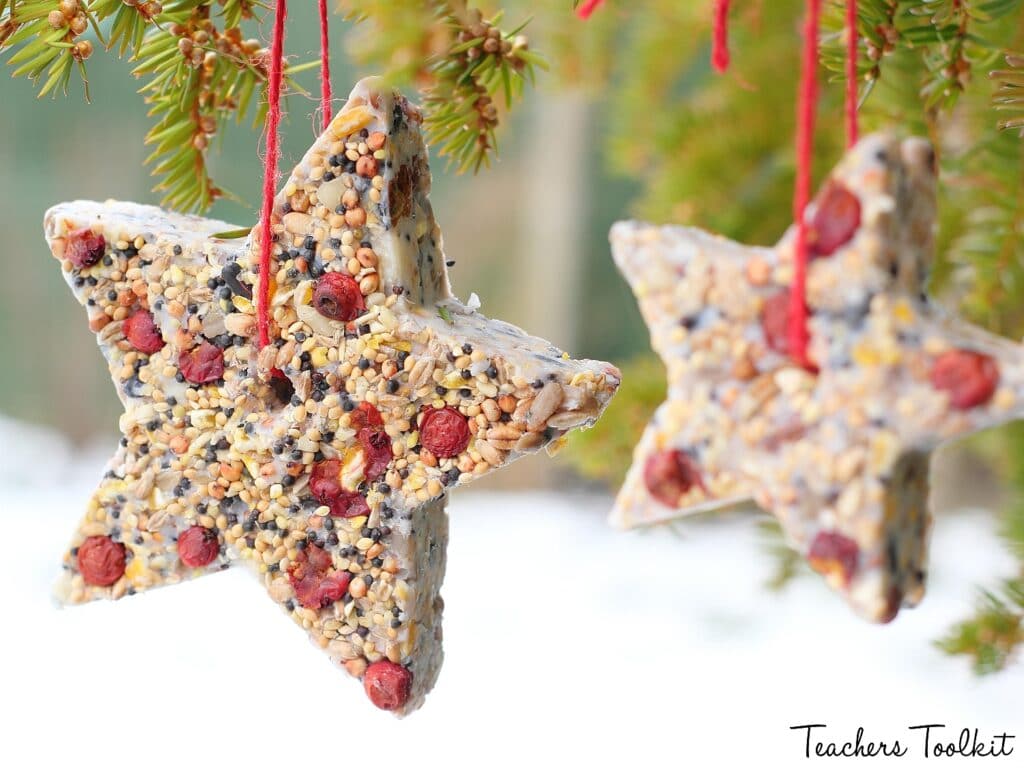
Kids will really enjoy making these bird feeders. Hanging them outside later and watching the happy birds (and most likely squirrels!) is a lot of fun!
These are a bit more labor-intensive but still pretty easy overall. You will most likely want to prepare the gelatin and water yourself.
You’ll need:
- any kind of bird seed mix (about the same amount as the water)
- 2 packets of powdered gelatin
- 1 pint of boiling water
- several straws cut into pieces
- cookie cutters
- a mixing bowl and spoon
- a cookie sheet or tray covered in aluminum foil
- ribbon
WHAT TO DO:
- To start, pour the boiling water into your bowl. Add the 2 packets of gelatin and stir it until all of the powder has been dissolved.
- Now pour your bird seed into the bowl, just a little at a time. Give it a good stir. Keep pouring and stirring until all your bird seed is in the bowl. It’s really important that all of the seed is coated well with the gelatin, as this is what will keep it stuck together once it’s out of the cookie cutters.
- Put your cookie cutters on the foil-covered tray. Fill each cutter with the bird seed mixture, pressing it down tightly.
- Push a piece of straw into each cookie cutter to make a hole for hanging. Try not to put it too close to the edge of the ornament. The straws will be left in place until the ornaments have dried.
- Now leave the ornaments out for a day or two to dry. If you have a freezer you can put them in for a few hours, this will speed up the process.
- Now comes the hardest step – CAREFULLY push the straws out of the holes with your fingers. If this is done too quickly, you might break the edge of the ornament.
- Place a ribbon or string through the ornament. Add a gift tag. Now they’re ready to be hung outside and enjoyed by the birds!
We’d love to hear your experience if you try any of these ideas!
Looking for ideas for classroom teaching? You can SHOP HERE or READ HERE!
